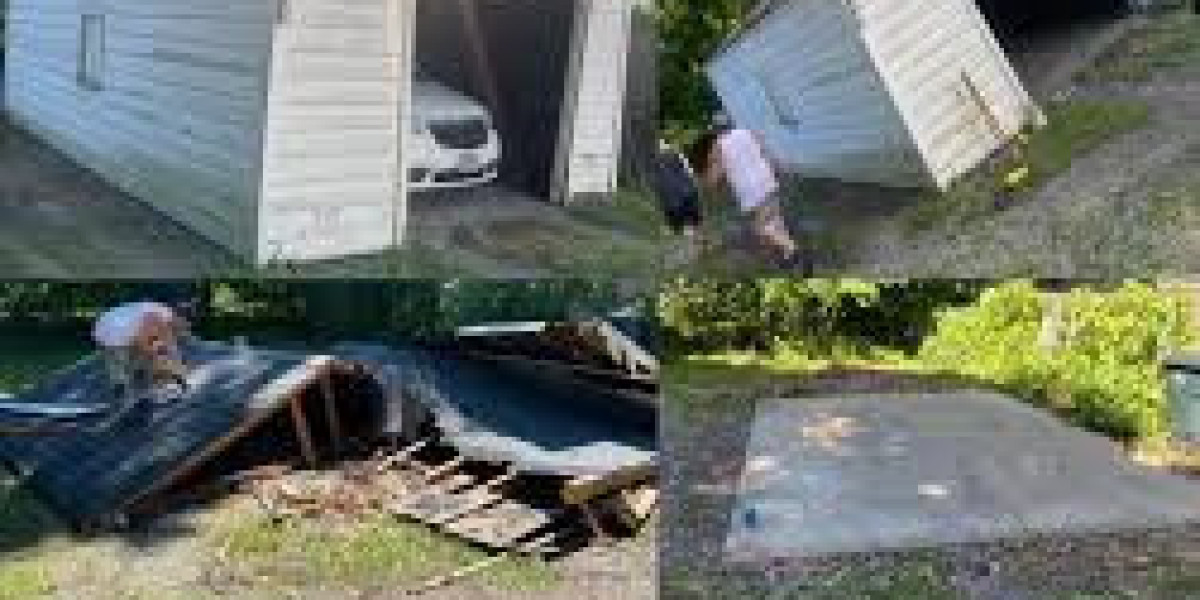
Sheds are a great addition to any property, providing extra storage space, a workshop, or even a small retreat. However, over time, sheds can deteriorate due to weather exposure, pest infestations, or simply becoming obsolete. When a shed is no longer useful or becomes unsafe, shed demolition and removal become necessary. This guide will walk you through the entire process, from planning and safety precautions to execution and disposal.
Reasons for Shed Demolition
There are several reasons why a shed may need to be demolished and removed, including:
Structural Instability: Over time, sheds can become structurally weak due to rot, termites, or rust.
Obsolescence: If the shed is no longer in use and is taking up valuable space, removing it can free up room for other projects.
Aesthetic Appeal: An old, dilapidated shed can be an eyesore and lower the overall appeal of your property.
Safety Concerns: A deteriorating shed can become a hazard due to falling debris, sharp edges, or mold growth.
New Construction Plans: If you plan to build a new structure, garden, or patio, removing the old shed is the first step.
Planning the Demolition Process
Proper planning ensures that the shed demolition and removal process is safe and efficient. Follow these steps:
1. Check Local Regulations
Before you start demolishing your shed, check with your local municipality for any permits or regulations regarding structure removal. Some areas may require permits, while others may have specific disposal guidelines for demolition waste.
2. Gather the Necessary Tools and Equipment
Depending on the size and construction of your shed, you may need the following tools:
Safety gear (gloves, goggles, mask, steel-toe boots)
Hammer and crowbar
Saw (reciprocating saw or handsaw)
Power drill
Sledgehammer
Ladder
Dumpster or truck for debris disposal
3. Turn Off Utilities
If your shed has electricity, water, or gas connections, ensure that they are safely disconnected before demolition. Contact professionals if necessary to prevent accidents.
4. Clear Out the Shed
Remove all items stored in the shed before demolition. Sort through the items and decide what to keep, donate, recycle, or discard.
Step-by-Step Shed Demolition Process
1. Remove Doors and Windows
Start by unscrewing or prying off the doors and windows to make the dismantling process easier and safer.
2. Dismantle the Roof
Use a crowbar or hammer to remove the roofing material, whether it’s shingles, metal, or plywood. Be cautious while working overhead and ensure you have a sturdy ladder if needed.
3. Take Down the Walls
Once the roof is removed, begin working on the walls. Use a reciprocating saw to cut through wooden panels or a sledgehammer for breaking down weaker structures. Start with one side to create an open workspace.
4. Disassemble the Floor (If Applicable)
If your shed has a wooden floor on a frame, you may need to pry up the boards and dismantle the foundation. If the shed is on a concrete slab, you may only need to clear away debris.
Debris Removal and Disposal
Proper disposal of shed debris is crucial. Here are a few disposal options:
Rent a Dumpster: A dumpster rental allows for convenient disposal of wood, metal, and other materials.
Recycle Materials: Many parts of the shed, such as wood, metal, and glass, can be recycled or repurposed.
Haul Away Services: Some professional removal services can take care of debris disposal for you.
Burning (If Legal): In some rural areas, burning wooden shed materials is an option, but always check local regulations first.
Hiring Professionals vs. DIY Shed Removal
Deciding whether to hire professionals or handle the demolition yourself depends on factors such as shed size, complexity, and personal experience.
DIY Shed Demolition
Cost-effective
Suitable for small or simple sheds
Requires physical labor and time
Can be dangerous without proper experience
Hiring Professionals
Safe and efficient
Suitable for large or complex structures
Ensures proper disposal and permits
Higher cost but less hassle
Final Thoughts
Shed demolition and removal can be a manageable DIY project or a task best left to professionals, depending on the situation. Proper planning, safety precautions, and disposal methods ensure that the process goes smoothly. Whether you’re making room for a new structure or simply getting rid of an old eyesore, following these steps will help you complete the job efficiently.


